


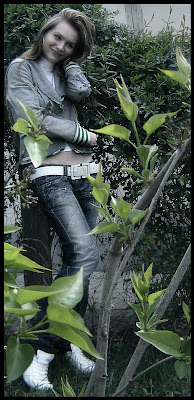
This Photoshop tutorial contains just 6 steps and the result is an interesting color effect proper for any photo. You will learn to manage the curves/hue/gradient map layers and you can create your own photo effect if you modify the values of the created layers.
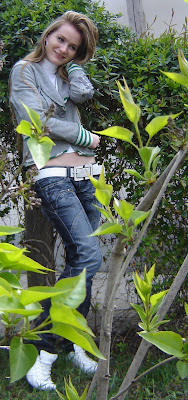
Step 1: Open the photo which you want to edit.
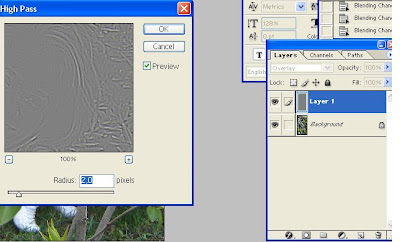
Step2: 1. Duplicate the backgorund and select the layer duplicated, then go to Filter > Other > High Pass and apply at 2.0 pixels then change the Blend mode to Overlay.
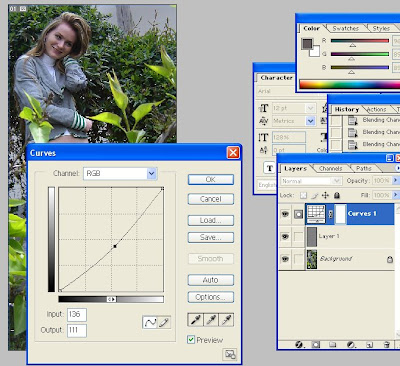
Step 3: Add a curves Adjustment Layer(Layer>New adjustment layer>Curves) to modify the contrast.
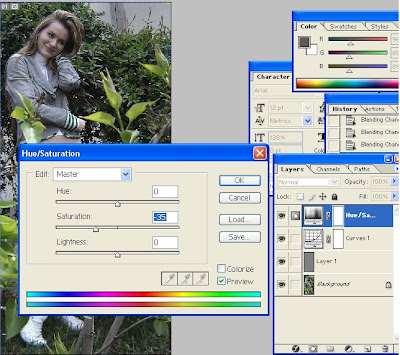
Step 4: Add a Hue/Saturation Adjustment Layer(Layer>New adjustment layer>Hue/Saturation) to reduce saturation at -35.
Step 5: Add a Gradient Map Adjustment Layer (Layer>New adjustment layer>Gradient Map) to apply blue color tones. Set the blend mode of the layer to Color and set the opacity to 24%

 Step 6: Make a black border with square brush (32 px.)(keeping pressed Shift you will get a right line)
 Step 7: With the Burn tool dark the shadow areas and with the Dodge tool light "white" areas.

0 Response to "Cold Effect"
Trimiteți un comentariu